15 Easy Paper Crafts You Can Make With Basic Supplies
You do not need a room full of craft equipment to make something satisfying from paper. These 15 easy paper crafts DIY ideas start with ordinary printer paper, construction paper, cardstock, or saved scraps, then turn them into cards, bookmarks, decorations, and small useful objects.
Every project below includes a short materials list and a workable way to begin. Some involve folding, others cutting, layering, or weaving, so you can choose the method that fits what you have. Keep a ruler, pencil, scissors, glue stick, and a few spare sheets nearby; swap in recycled paper where its weight and finish make sense.
If you are new to cutting and folding, begin with the paper chain or corner bookmark. Try the woven pieces when you want to practice alignment. These are approachable projects, not promises that every design takes five minutes or works with every paper type.
Before You Start: Paper, Tools, and a Clear Work Surface
Lightweight printer paper is easy to fold but can buckle with wet glue. Construction paper adds color, while cardstock helps cards and freestanding forms hold their shape. Fold against a ruler edge for neater creases, test any new adhesive on a scrap, and cut on a protected surface. If children join in, supervise scissors, blades, and small loose components according to their skills and age.
1. Folded Pocket Greeting Card
A folded pocket greeting card opens to reveal a separate little note tucked neatly inside. Use two coordinating papers so the outside reads as a simple card while the inner pocket supplies a pleasant surprise. It makes an adaptable birthday card, thank-you note, or gift enclosure without demanding special dies or a printer.
You’ll need:
- Lightweight cardstock or sturdy colored paper
- A smaller piece of writing paper
- Ruler and pencil
- Scissors
- Glue stick
Fold a rectangular cardstock sheet in half. Cut a shallow pocket shape from a second sheet and glue only its left, right, and bottom edges to the inside front panel; let the glue set before sliding in the note. Leave the pocket top completely open, and trim the insert slightly narrower than the pocket.
For a cleaner look, cut the pocket from patterned scrap paper and match one color on the card front. Avoid liquid glue close to the opening, where overflow can seal it shut.

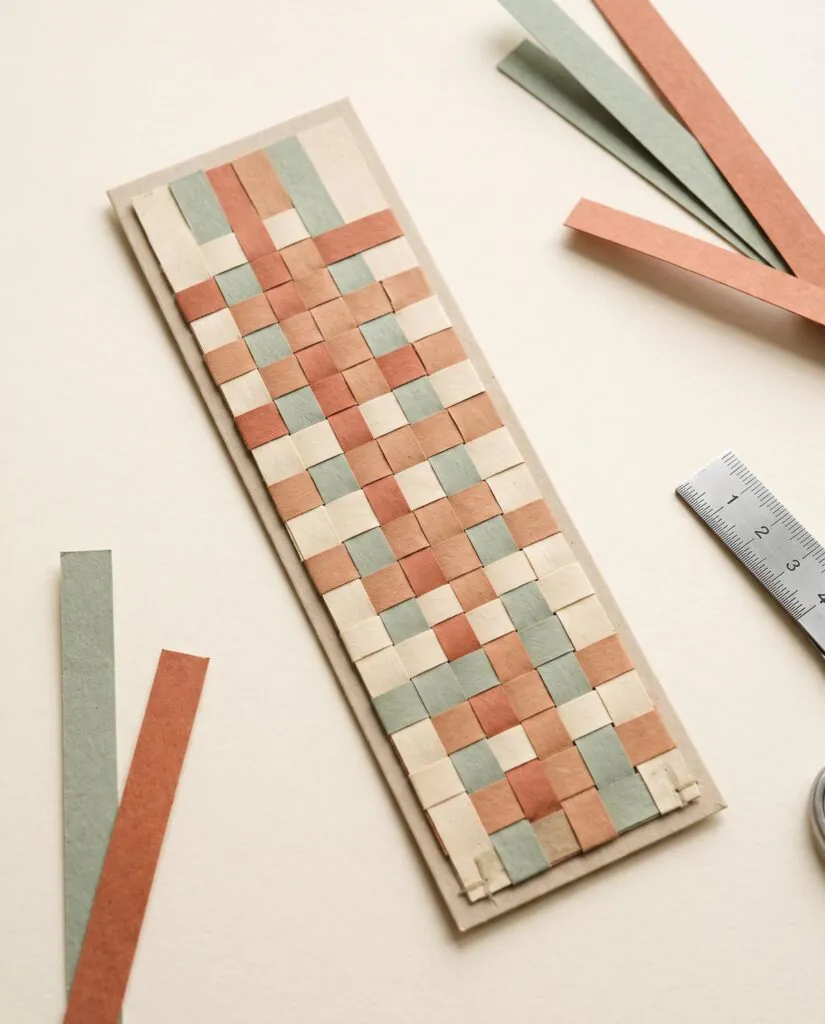
2. Woven Paper Strip Bookmark
This bookmark uses contrasting bands of paper to create a small checkerboard panel. The weave is visible from both sides, making a simple strip of paper look much more considered. It is a particularly good introduction to over-under construction because the pattern quickly reveals when a strip is out of sequence.
You’ll need:
- Two colors of construction paper
- Ruler and pencil
- Scissors
- Glue stick
- Optional cardstock backing
Cut several narrow strips in each color, keeping widths consistent. Lay one color vertically in a row, then thread horizontal strips alternately over and under them; reverse the sequence with each new row. Square up the edges and lightly glue intersections or attach the weave to a cardstock base.
Trim only after the weave is secured, or the outer pieces may slip free. A backing gives the bookmark greater durability and keeps edges from snagging pages.
3. Accordion-Fold Paper Fan
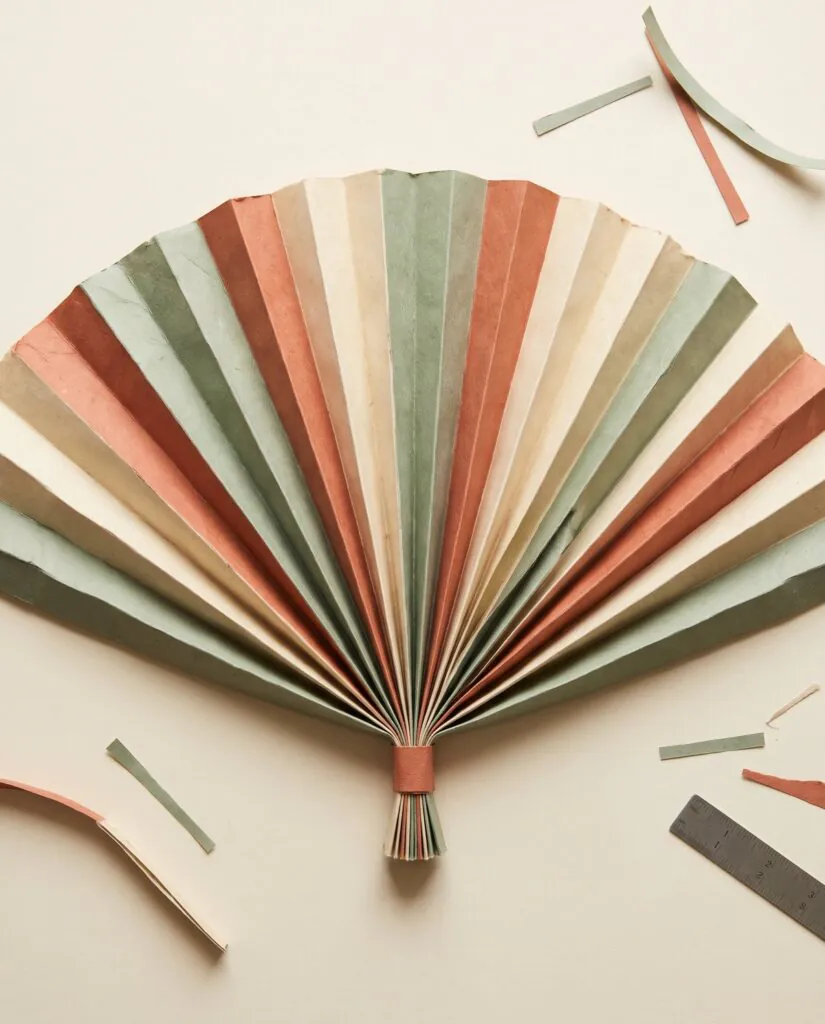
A pleated paper fan shows how repeated folds create texture and movement from one flat sheet. Finished in an understated two-tone palette, it can serve as a party decoration or a small tabletop accent rather than a working cooling fan.
You’ll need:
- Colored paper
- Ruler
- Scissors
- Glue stick or tape
- String for hanging, optional
Start at one short edge and make even alternating accordion folds along the length of the paper. Pinch and secure one end, then spread the other edge into a semicircle. For a fuller display fan, create a second matching pleated section and join the two centers.
Use thin paper if crisp pleats are difficult in heavy cardstock. A small strip of tape around the pinched base holds more reliably than a dot of glue on springy folds.
4. Layered Cut-Paper Flower
A cut-paper flower gains depth from several staggered petal layers rather than complicated shaping. A simple center disc ties the arrangement together, and the flower can become gift-wrap decoration, a place setting, or wall art.
You’ll need:
- Colored paper in two or three tones
- Pencil
- Scissors
- Glue stick
- Small circular paper scrap
Sketch a basic petal cluster on paper and cut out two or three progressively smaller versions. Rotate each layer before gluing at the center so the petals remain visible. Add a small circle over the join to cover the glued area.
Gently bend petal tips upward with your fingers, but avoid tightly curling delicate paper that may crease. You can make one flower in muted colors instead of producing a whole bouquet.

5. Corner Pocket Page Marker
A triangular corner bookmark slides over the edge of a page and stays in place without a clip. This useful project relies on a few square-paper folds, so it works well when you want an easy result with no adhesive.
You’ll need:
- One square of thin colored paper
- Ruler, optional
- Pencil for decoration, optional
Fold the square diagonally into a triangle. With its long folded edge at the bottom, bring both lower corners to the top point to mark the creases, then open those flaps. Fold the front layer of the top point downward and tuck the two side corners into the pocket it creates.
Press each crease firmly and test the finished corner on a page. Very thick cardstock makes the tucking step bulky; printer-weight colored paper is the better choice.

6. Simple Paper Chain Garland
Linked paper loops make a cheerful garland from long strips and almost no specialized equipment. Alternating colors creates rhythm, while a monochrome chain looks more restrained over a shelf or doorway.
You’ll need:
- Construction paper or recycled magazine pages
- Ruler and pencil
- Scissors
- Glue stick or tape
Cut a batch of strips of similar width and length. Form the first strip into a loop and fasten its ends; thread the next strip through it before closing the second loop. Continue until the chain reaches the desired length.
For a longer garland, use consistent strips so it hangs evenly. Attach it to a wall with appropriate removable fasteners, and keep paper away from candles, bulbs that run hot, and other heat sources.

7. Cut-Paper Window Silhouettes
Layering a cut-paper silhouette against a lighter backing produces an effective little window scene. A plant, house roofline, or simple mountain outline looks crisp when held against daylight or displayed in a frame.
You’ll need:
- Dark colored paper
- Light or translucent backing paper
- Pencil
- Scissors
- Glue stick
Draw one bold silhouette with a continuous outline, then cut slowly along the line. Mount it on a contrasting sheet, leaving a border all around; attach the layers at a few discreet points. Place it near a bright window or inside a frame instead of directly against a heat source.
Choose shapes with broad connecting sections so the piece does not tear. For windows, avoid making a claim that regular paper is weatherproof or suited for outdoor exposure.

8. Mini Folded Paper Envelopes
A tiny folded envelope turns a short message or gift tag into something more personal. Try plain ivory paper for a tidy stationery look or patterned offcuts for an informal bundle of notes.
You’ll need:
- Square or rectangular lightweight paper
- Ruler and pencil
- Glue stick
- Small message card
Place paper diagonally, fold the left and right points toward the center, and bring the bottom point up so it overlaps them. Secure only the overlapping side seams to form a pocket, then fold the top point down as the closure. Slide in a note after the glue dries.
Check the pocket size with your insert before gluing. For letters you intend to mail, use a properly sized mailing envelope rather than assuming this handmade version meets postal requirements.

9. Paper Mosaic Picture
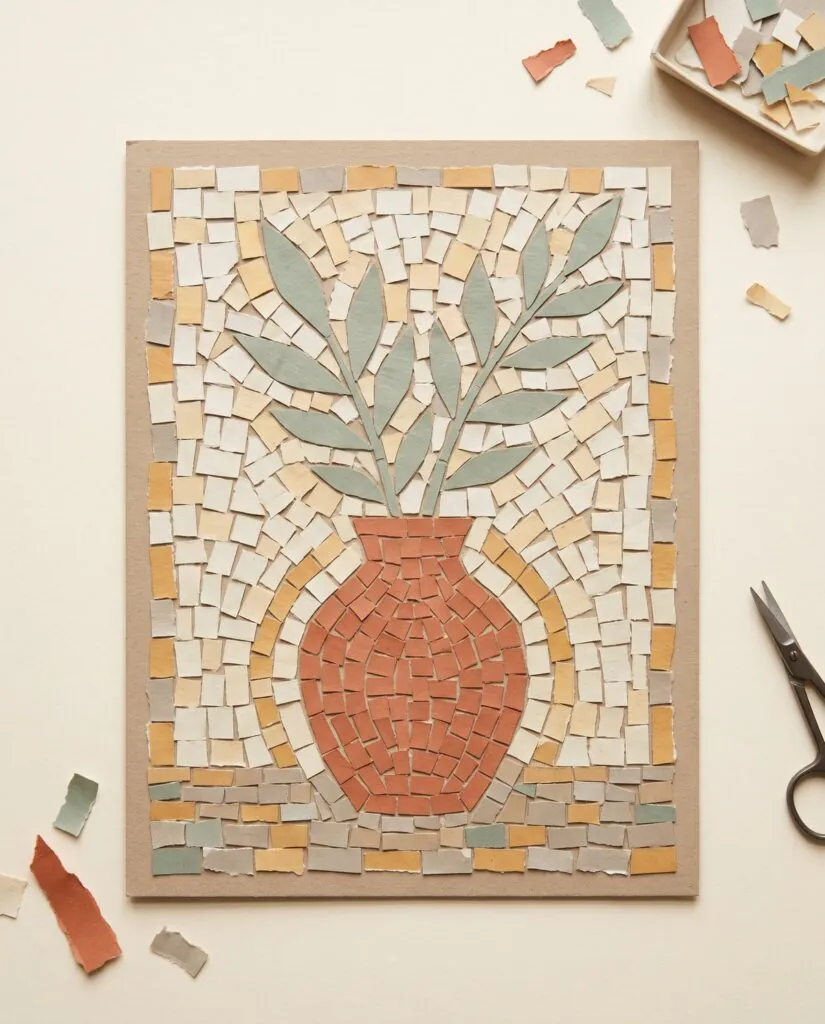
A paper mosaic builds an image from small torn or cut pieces instead of pencil shading. The slightly irregular edges give the surface an appealing handmade quality, especially with scraps saved from other projects.
You’ll need:
- Paper scraps in several colors
- Plain backing paper or cardstock
- Pencil
- Glue stick
- Scissors, optional
Lightly sketch an uncomplicated subject such as a vase, fruit, or abstract wave. Arrange the paper pieces loosely inside each area before fixing them with glue, working outward from the largest color blocks. Leave a narrow gap between some pieces to emphasize the mosaic pattern.
Torn edges soften an image while neatly cut shapes create a graphic result. Keep your first design relatively bold; tiny details are harder to control with loose paper pieces.
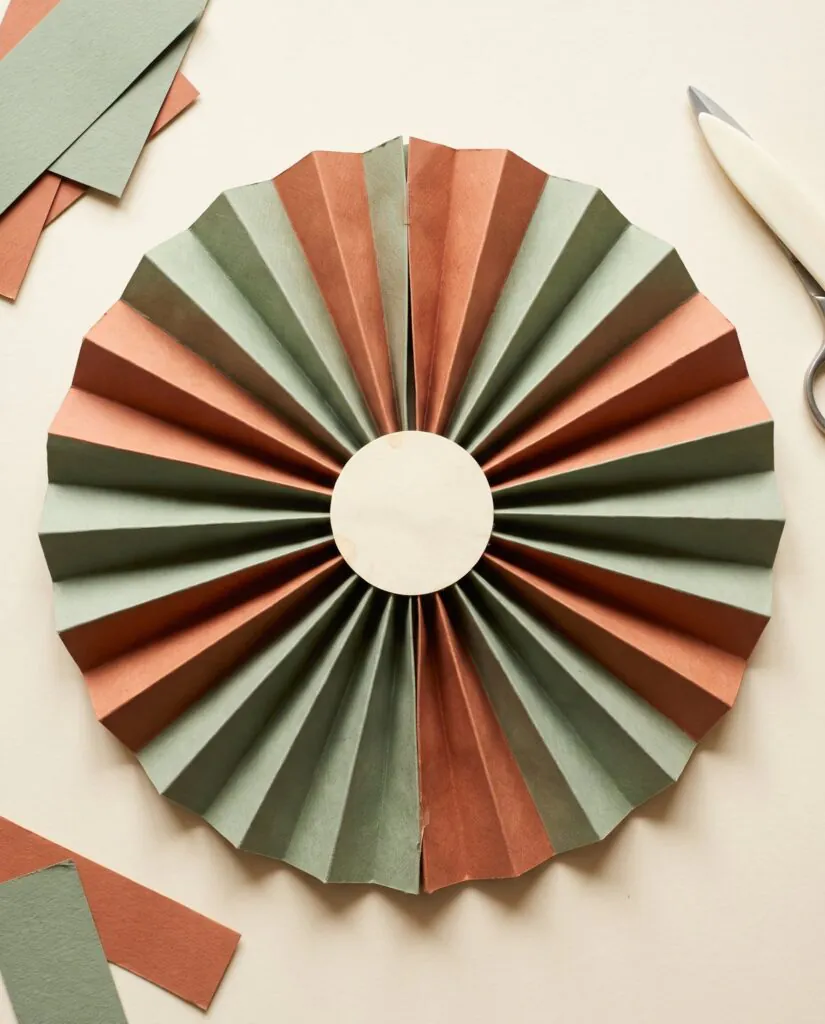
10. Accordion Paper Rosette
A rosette resembles a pleated medallion and looks striking when grouped on a card or hung as lightweight decor. Its circular shape emerges from repeated folds, not from a printed template.
You’ll need:
- Two long strips of paper
- Ruler
- Glue stick or tape
- Small paper circle
- String, optional
Accordion-fold both strips in the same width pleats. Join their ends into one long pleated band, then connect the last two ends to form a ring. Press the ring inward toward its center to flatten into a rosette, and glue a paper circle over the center to hold it.
The rosette tends to spring back before the center join sets, so steady it with a flat object briefly while drying. Use thinner paper if the folds resist.
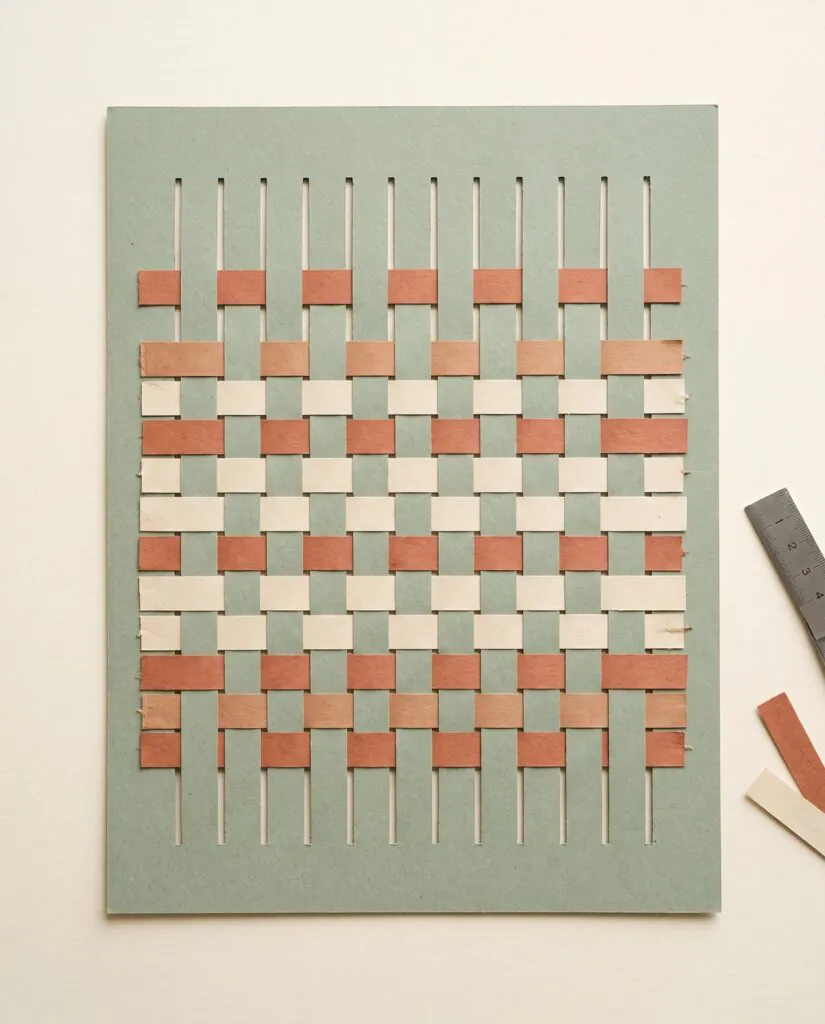
11. Paper Weaving Placemat
Broad over-under paper strips can create a small decorative placemat or tray liner, showing the same technique as a woven bookmark at a larger scale. It is best treated as dry display decor rather than a washable dining surface.
You’ll need:
- Two colors of construction paper
- Ruler and pencil
- Scissors
- Glue stick
Fold one paper sheet in half and cut parallel slits from the folded edge, stopping short of the opposite edge to preserve an intact border. Unfold it, then weave long contrasting strips through the slits, alternating direction on each row. Glue strip ends neatly to the back.
Keep the cuts reasonably wide for beginners and check that the uncut border stays strong. Do not use uncoated paper under wet dishes or hot serving pieces.
12. Layered Paper Gift Tags
Stacked paper shapes create tags that look intentionally designed even with basic household scraps. A contrasting backing adds a clean border, and a hand-cut hole turns the finished design into a gift-ready detail.
You’ll need:
- Cardstock scraps
- Colored or patterned paper
- Pencil
- Scissors
- Glue stick
- Hole punch and ribbon or string
Cut a sturdy tag shape from cardstock and a slightly smaller coordinating paper shape to mount on top. Glue the layers flat, add a simple cut-paper motif, then punch a hole near the top and thread the string through.
Write on the back before adding bulky layers to the front. If using very thin paper, reinforce the punched area with an extra small cardstock patch so the string does not tear through.

13. Torn-Paper Landscape Collage
A landscape built from overlapping torn shapes is an accessible exercise in foreground, background, and color. Soft torn edges make hills, clouds, or water feel organic without precise cutting.
You’ll need:
- Colored paper or magazine pages
- Plain cardstock base
- Pencil, optional
- Glue stick
Select three to five colors that read as sky, distant scenery, foreground, and one focal detail. Tear broad shapes and arrange them from back to front before gluing. Overlap the edges so the scene develops depth without requiring perspective drawing skills.
Keep the horizon simple and let the paper edges remain visible. Thin glossy magazine pages may wrinkle with wet glue, so test a glue stick first.

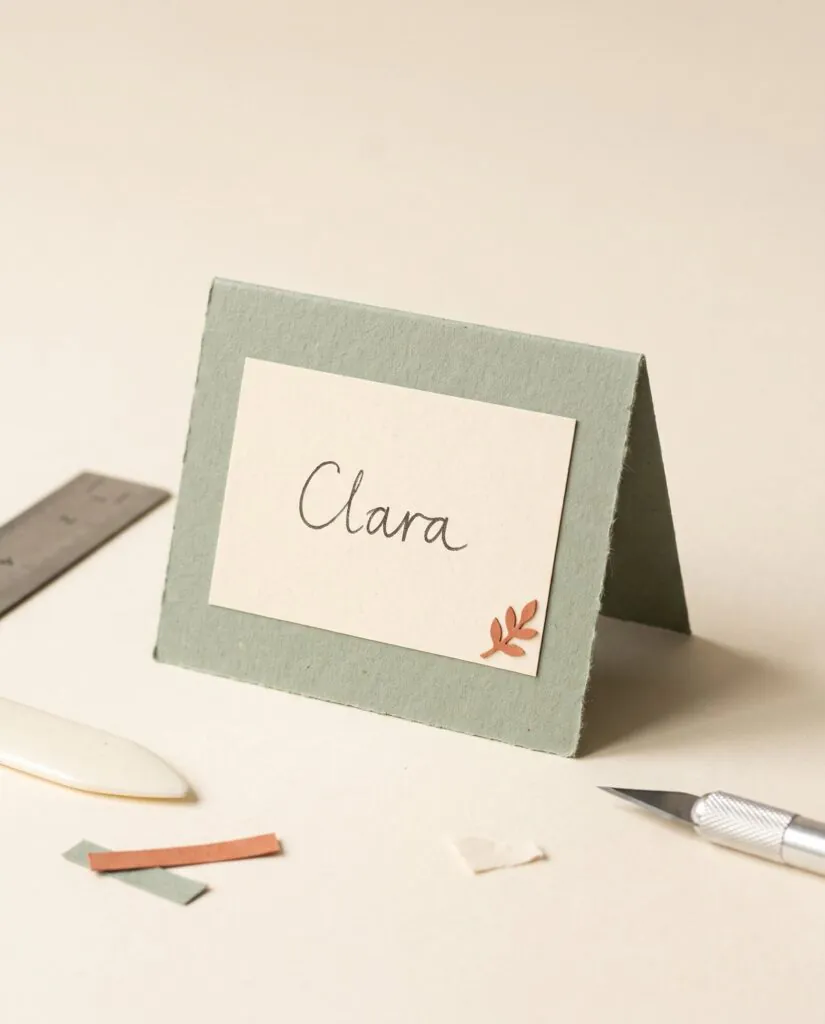
14. Folded Paper Table Place Cards
Tent-fold place cards need only paper, a straight crease, and a simple decorative accent. They stand on their own at a table and are easy to coordinate with a gathering’s colors.
You’ll need:
- Sturdy cardstock
- Ruler and pencil
- Scissors
- Pen
- Small colored-paper offcuts
- Glue stick
Cut matching rectangles from cardstock and score a light center line with a blunt tool and ruler if you have one; otherwise crease carefully by hand. Fold each rectangle into a tent, write the name across the front, and attach a restrained small paper shape near one corner.
Test one card on the table before cutting a full set: narrow cards can tip if the fold is too shallow. Do not place paper cards close to open flames.
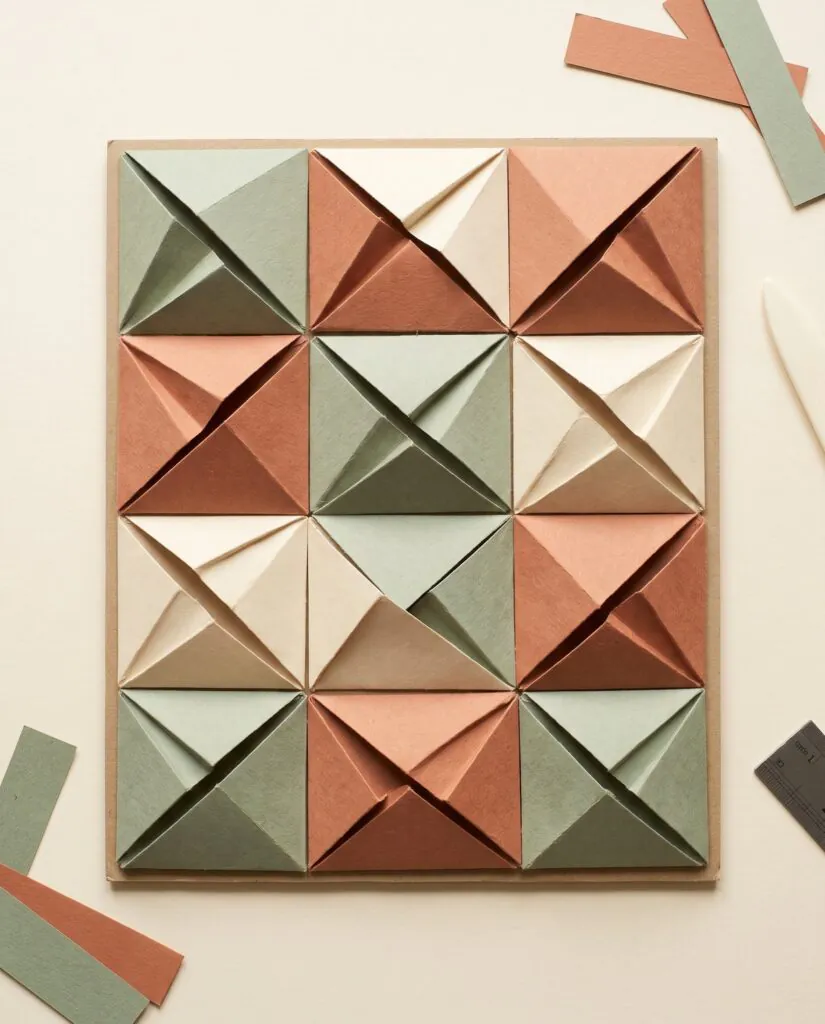
15. Geometric Paper Wall Tiles
A collection of folded geometric tiles creates dimensional wall art from squares or rectangles. Repeating the same basic module gives a coordinated arrangement, while alternating colors creates variety without complicated patterns.
You’ll need:
- Several sheets of colored paper
- Ruler and pencil
- Scissors
- Glue stick
- Cardstock backing or frame
Cut equal squares, fold a diagonal crease on each, and fold one or two corners toward the center to create raised triangular planes. Arrange the modules on a firm backing with a consistent spacing, then glue only the flat portions in contact with the base.
Keep the fold orientation consistent within a row for a deliberate pattern. Use a lightweight frame or proper wall-safe adhesive rather than hanging loose pieces over a heat source.
How to Choose Your First Project
If you want a practical result, make a pocket card, a corner bookmark, or gift tags. If you prefer visual texture, try a paper mosaic, torn landscape, or rosette. Folding works best with lighter sheets; larger woven projects need careful spacing and a reasonably firm base. Pick one idea and make a test version before cutting a whole matching set.
Final Thoughts on Easy Paper Crafts DIY
These easy paper crafts DIY projects show how far a few ordinary sheets can go when you change the technique. Start with a method you enjoy—folding, layering, cutting, or weaving—and use the leftover scraps for your next piece. If you want broader creative inspiration after this paper-only collection, explore easy Christmas craft ideas for a different seasonal focus.