Easy Doodles to Draw: 18 Cute, Simple Ideas for Beginners
Looking for drawing ideas easy doodles can actually fit into a busy day? Start small: a crescent moon, a tiny mushroom, or a smiling strawberry takes just a few basic lines. These 18 cute doodles are designed for beginners who want to decorate a sketchbook, fill a notebook margin, or enjoy a little drawing without planning an elaborate picture. If you have trouble choosing even a small subject, a wider collection of drawing ideas for when you don’t know what to draw can help you find a starting point.
You do not need special supplies or polished drawing skills. A pencil and an ordinary pen will do, and you can add a little color later if you feel like it. Each idea below gives you a recognizable subject, a sensible place to begin, and one detail worth paying attention to.
What You Need to Start Doodling
Keep a pencil for faint guide shapes, an eraser, a black fineliner or ballpoint pen, and any sketchbook or loose paper you already own. Colored pencils are optional. If ink feels intimidating, make your entire first page in pencil; a doodle does not become more successful just because it has dark outlines.
Try each drawing at roughly two to three inches wide before shrinking it to fit a planner. Starting a little larger makes the curves and joins easier to control. Keep your grip loose and draw the big outline before adding faces, spots, folds, or other small decorations.
18 Cute and Easy Doodle Ideas to Draw
1. A Sleepy Crescent Moon
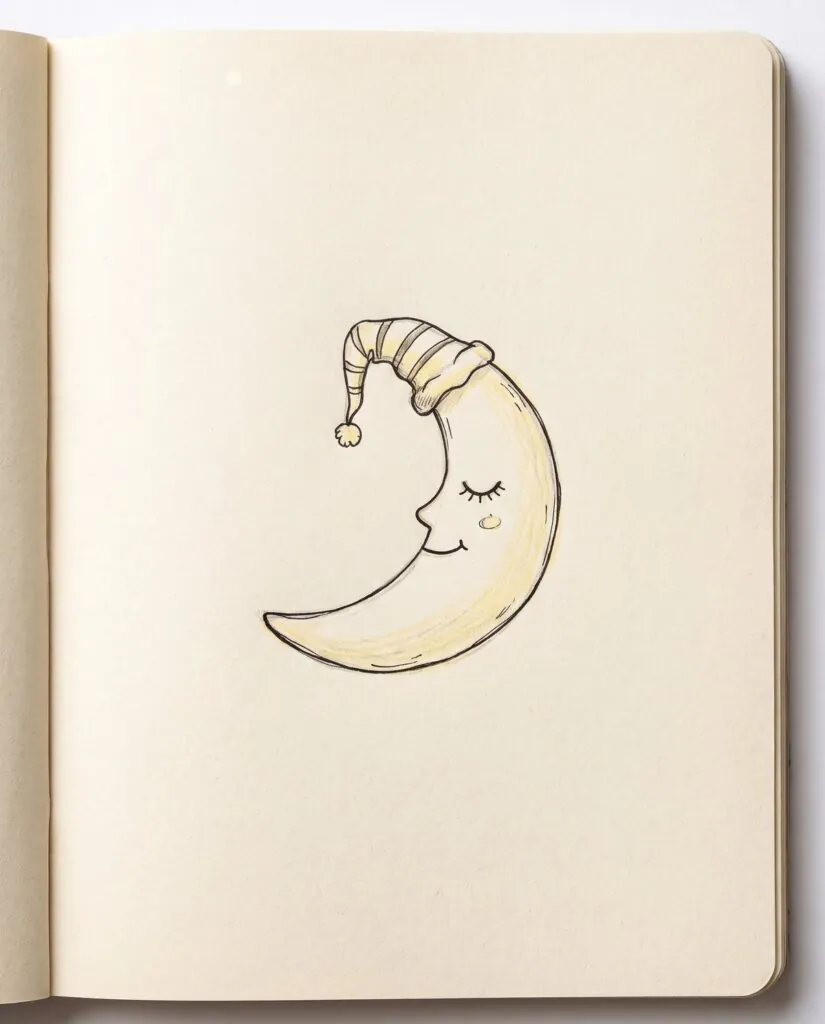
Begin with two sweeping curves that meet at the tips. Place two short closed eyes near the rounded edge, then add a small dangling star or nightcap tassel. Leave generous white space so the moon feels light rather than crowded. This is an especially forgiving doodle: slightly uneven arcs make it look more hand-drawn. If the crescent feels lopsided, widen the outer curve instead of repeatedly erasing the inner one.
2. A Tiny Potted Cactus
Draw a little trapezoid for the pot, then lift a rounded cactus shape above its rim. Add two short arms at different heights and use spaced dashes for spines rather than drawing every needle. A narrow curved line across the pot suggests the lip. Try varying the green pressure slightly on one side; even a very small touch of shading gives this simple drawing a pleasing sense of shape.

3. A Smiling Strawberry
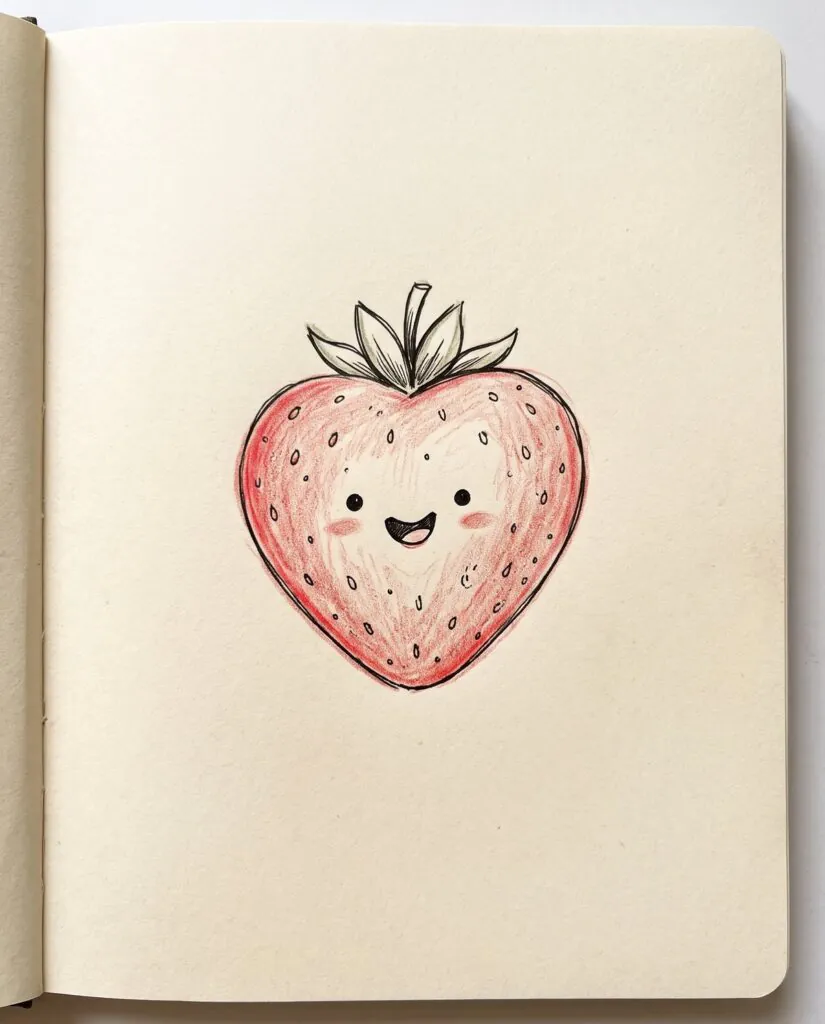
Start with a rounded upside-down heart, softening the point at the bottom. Sit a jagged leafy cap on top, then scatter short seed marks across the body. Put the smile in the upper third rather than the center so the fruit still reads as a strawberry. For a tidier effect, angle the seeds in the direction of the fruit’s curve instead of lining them up in rigid rows.
4. A Little Cloud With Raindrops
Build the cloud from three or four overlapping humps, then connect them with a flatter underside. Add three teardrop shapes underneath, staggering their heights to keep the arrangement playful. The appeal is in the contrast between soft cloud contours and pointed drops. Resist filling every gap with extra marks; a few well-placed details look more confident on a notebook margin.

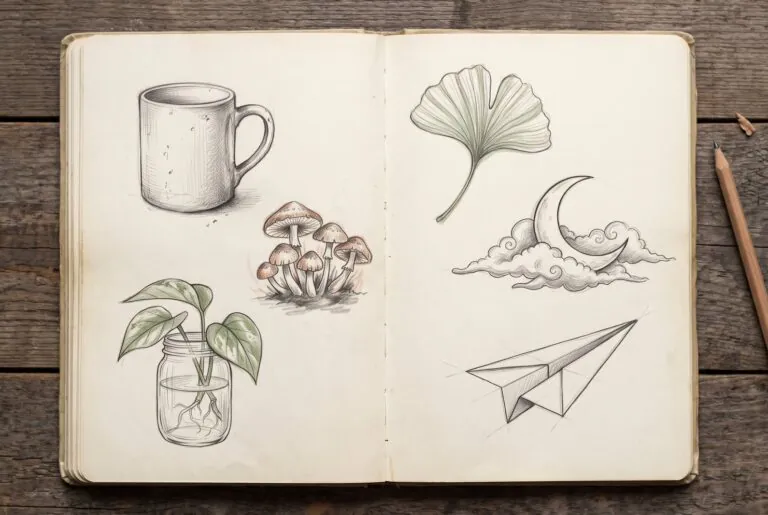
5. A Mini Mushroom
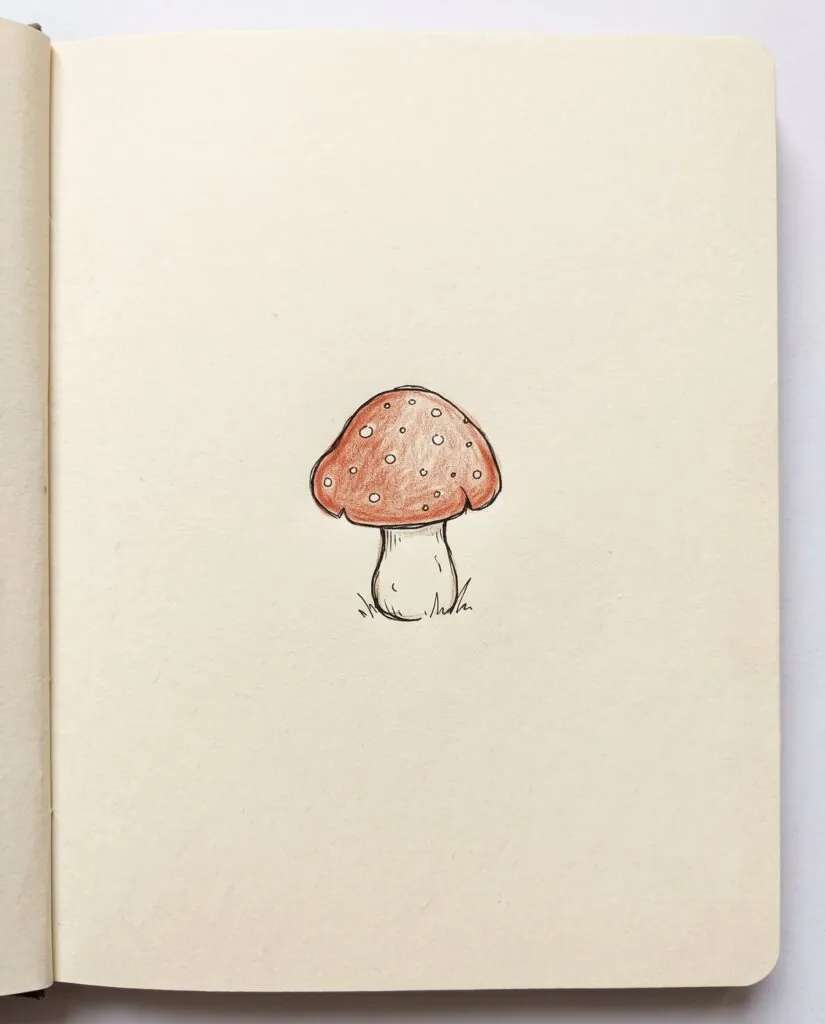
Sketch a shallow dome, add a slightly curved line beneath it for the gills, and place a short thick stem at the center. Decorate the cap with a handful of irregular circles. A mushroom is a lovely exercise in asymmetry: the cap can tilt, the spots need not match, and the stem can curve a little. Keep the gill marks short and light so they do not overwhelm the tiny silhouette.
6. A Teacup With a Heart
Draw an open oval for the cup rim, curve the sides down toward a narrow base, and add a handle shaped like a sideways C. A tiny heart on the front makes the idea instantly recognizable. One curling line above the cup suggests warmth without requiring shading. If the handle looks pasted on, connect its upper and lower ends directly to the cup wall.

7. A Friendly Ghost
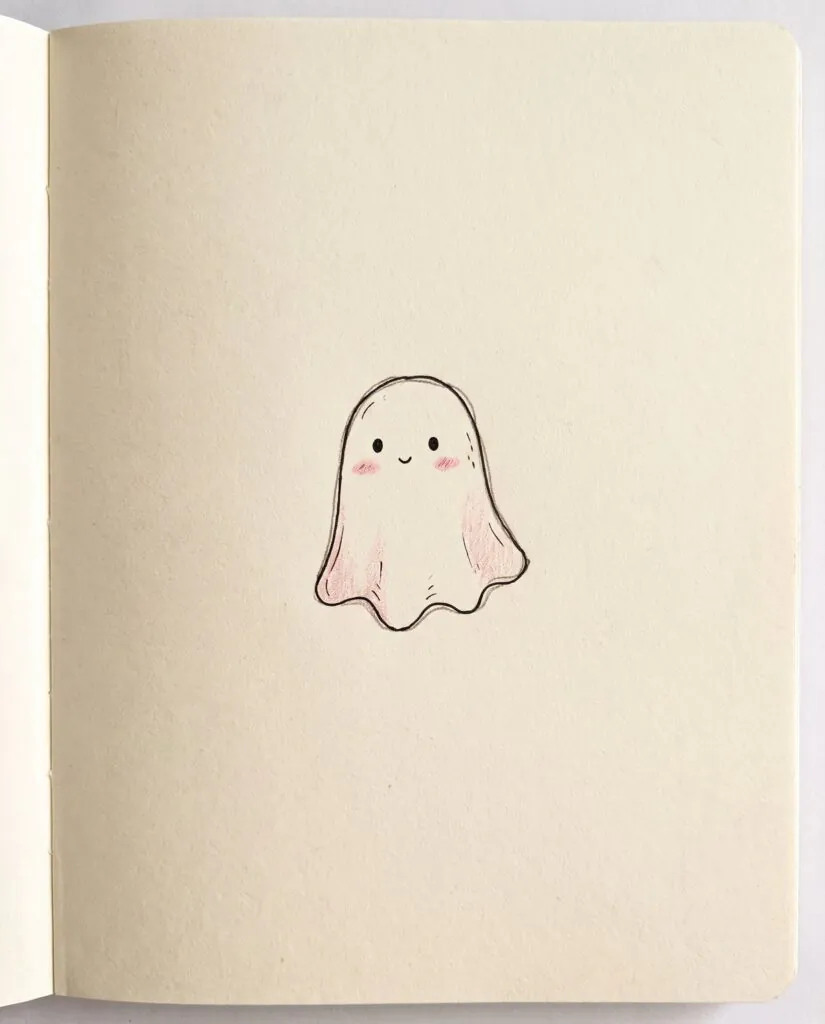
Make a rounded upside-down U, then finish the bottom with three loose scallops. Add two eyes, a tiny smile, and optional blush circles. The whole design depends on silhouette, not realism, which makes it excellent for beginners. Try leaning the ghost slightly to one side as if it is drifting. Keep the face high enough that the wavy base has room to show.
8. A Four-Petal Flower
Mark a small circle for the center, then arrange four generous oval petals around it. A thin stem and single pointed leaf complete the doodle. The petals can overlap slightly, but avoid making them identical; subtle variation creates a more natural sketch. If you want to fill a page corner, repeat the flower at two different sizes rather than adding complicated detail to one bloom.

9. A Pocket-Sized Envelope
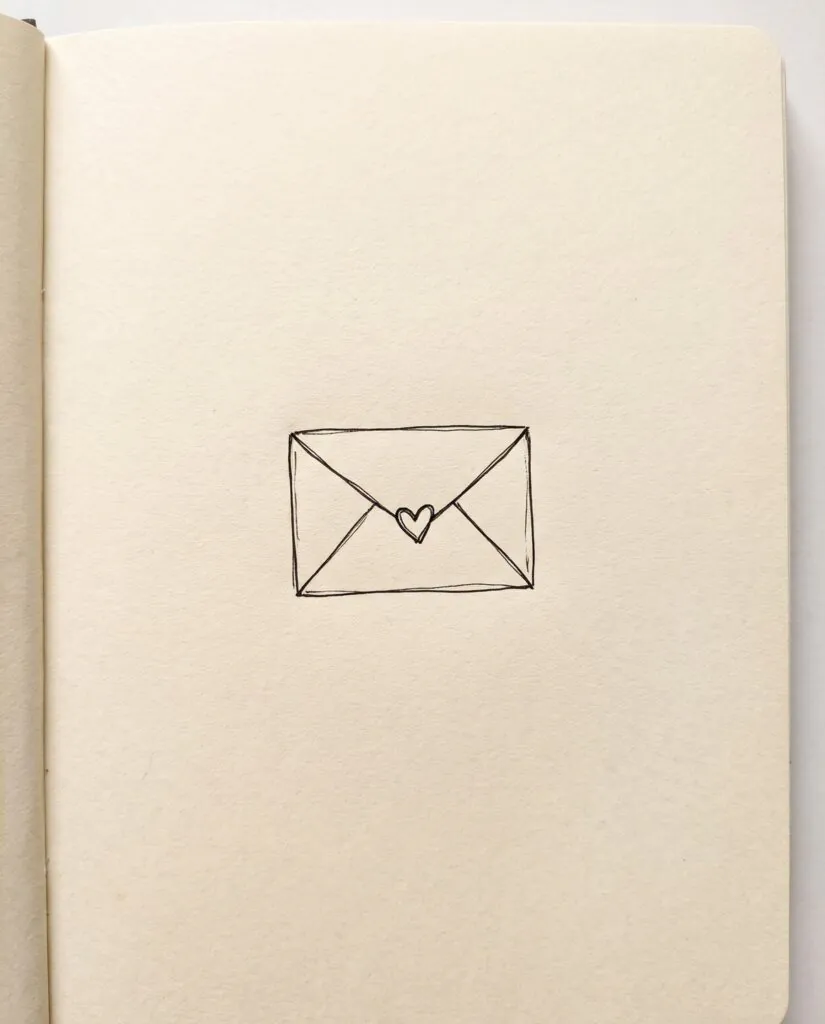
Begin with a horizontal rectangle, then draw two diagonal lines from the top corners toward a central point to form the flap. A very small heart or circle can serve as the seal. The main trick is keeping the outer edges straight enough that the object reads instantly. You can leave the flap slightly off-center for a handmade stationery feel, especially in diary margins.
10. A Wiggly Caterpillar
Place one circle for the head and follow it with four slightly overlapping circles that gently rise or dip across the page. Add little feet under alternating segments and two antennae above the face. This doodle teaches rhythm through repeated shapes. Keep the head a touch larger than the body segments and stop before the caterpillar becomes a long chain that is hard to balance.

11. A Mini Bow
Put a tiny knot in the middle, shape a soft triangular loop on each side, and draw two ribbon tails pointing downward. A short interior fold line in each loop creates depth without elaborate shading. Bows are especially nice as page dividers or beside a handwritten heading. For a less stiff result, make one loop marginally bigger and let the tails end at different lengths.

12. A Little House
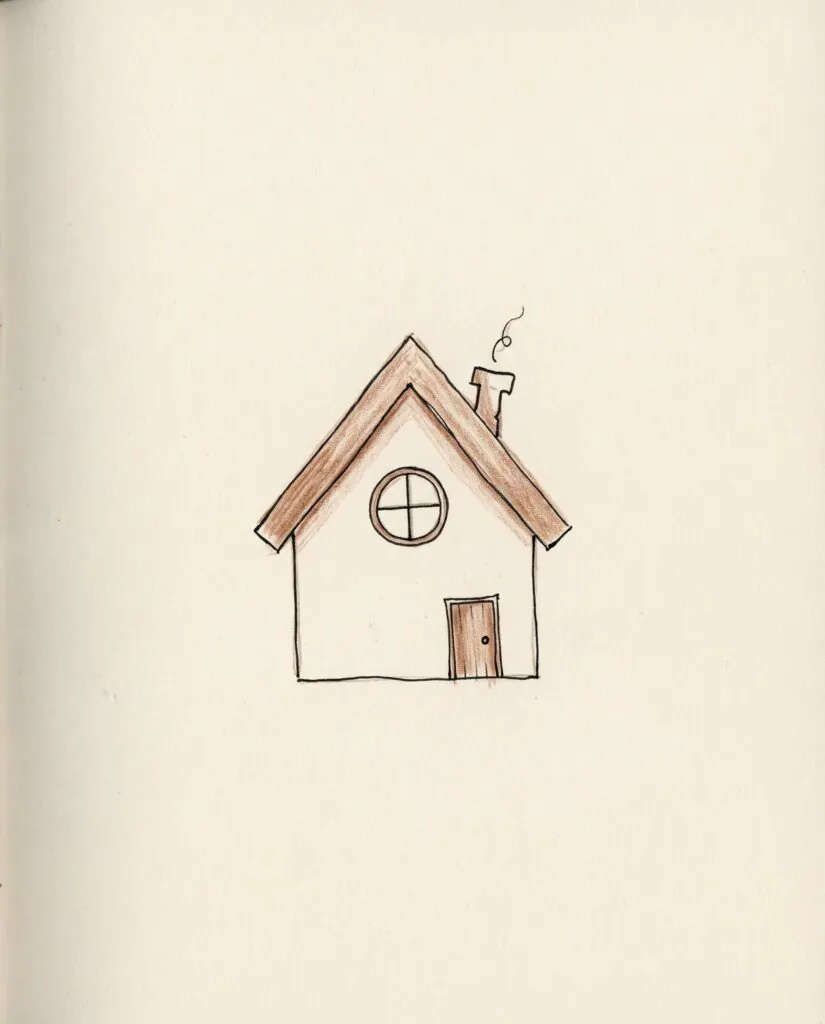
Start with a square or slightly tall rectangle, add a triangle roof, then tuck a small door beneath it. One round window and two roof tiles are plenty. This is a good place to practice neat junctions: the roof should sit firmly on the walls, not float above them. You can soften the design by drawing a crooked chimney or a small stepping stone outside the door.
13. A Happy Snail
Draw a generous spiral inside a rounded shell, then extend a low, curved body underneath. Raise two slim eyestalks from the front and finish with dot eyes. The spiral is the feature to enjoy: it need not be perfectly centered, but its turns should grow gradually wider. Keep the body long and low so the snail remains recognizable even before you color its shell.

14. A Stack of Three Books
Use three long shallow rectangles, each at a slightly different angle, to suggest a casual pile. Give each book a narrow spine line and a lighter page-edge band. Tiny title-like marks can be simple dashes rather than actual lettering. The trick is making each book rest on the one beneath it; align at least a portion of their edges so the stack feels stable and intentional.

15. A Sparkling Star
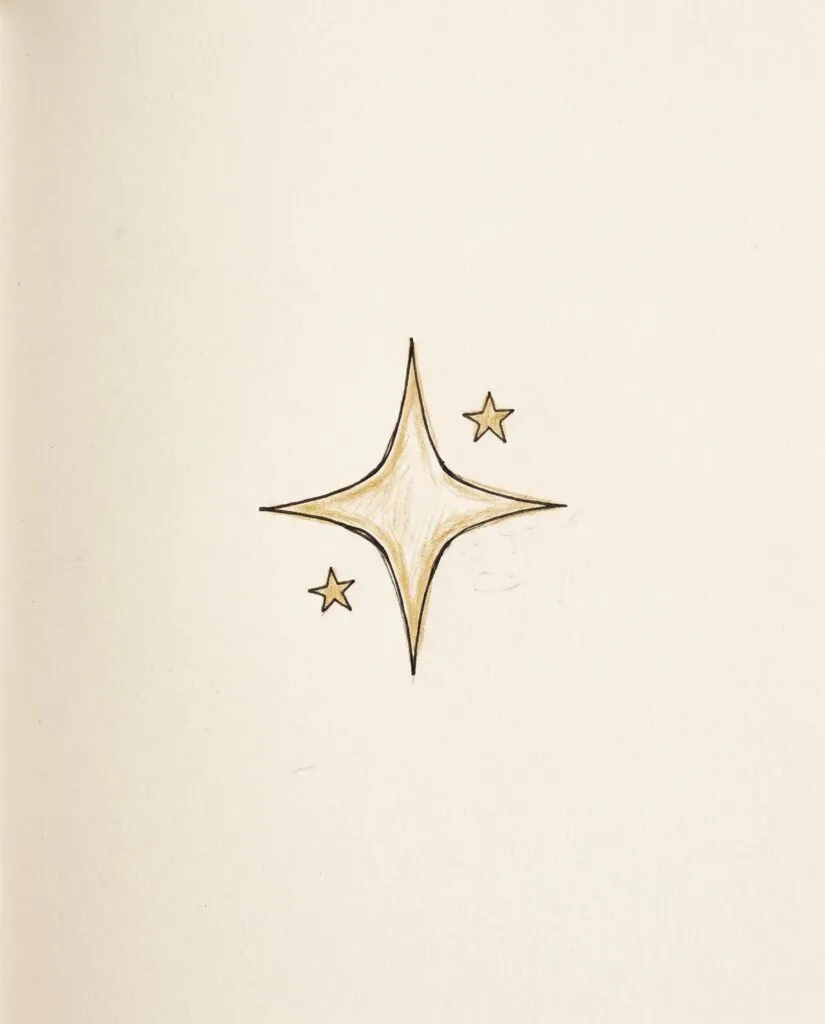
Draw a long vertical diamond-shaped point, then a shorter horizontal pair meeting at the center. Add two tiny crosses or diamond stars alongside it. This makes a useful decorative doodle when you have only a few seconds and little room. Aim for clean tapered points, but let the side rays differ slightly in length so the sparkle feels lively instead of printed.
16. A Cute Jellyfish
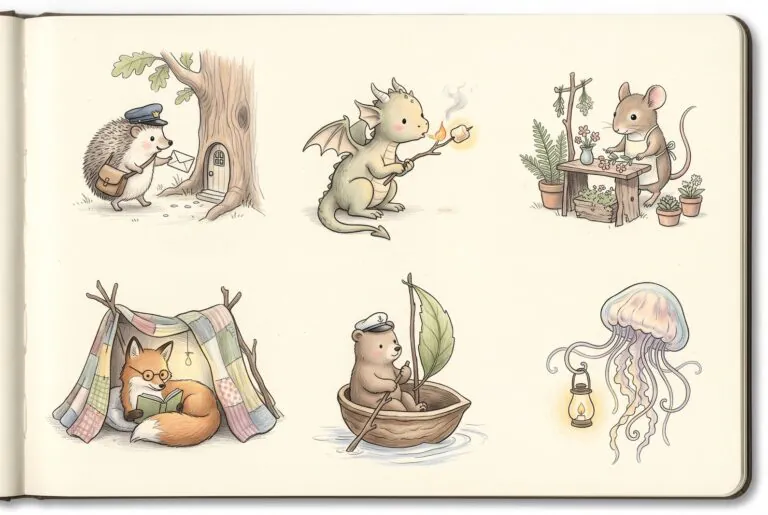
Outline a rounded bell, add a gently scalloped lower edge, then trail four wavy tentacles beneath it. Place small eyes on the bell and use a few soft pencil strokes near its top for color. Let the tentacles follow different curves rather than repeating a single wave. Their varied movement creates the underwater mood without needing bubbles, coral, or a full scene.

17. A Little Cupcake
Draw a short trapezoid wrapper with vertical pleat lines, then pile a single swirled frosting shape above it. Finish with a small cherry or round sprinkle at the peak. Make the frosting wider than the wrapper at its base so it appears to rest on top. Avoid drawing individual sprinkles all over the page; a few dots keep the cupcake readable at a tiny size.

18. A Mini Shooting Star
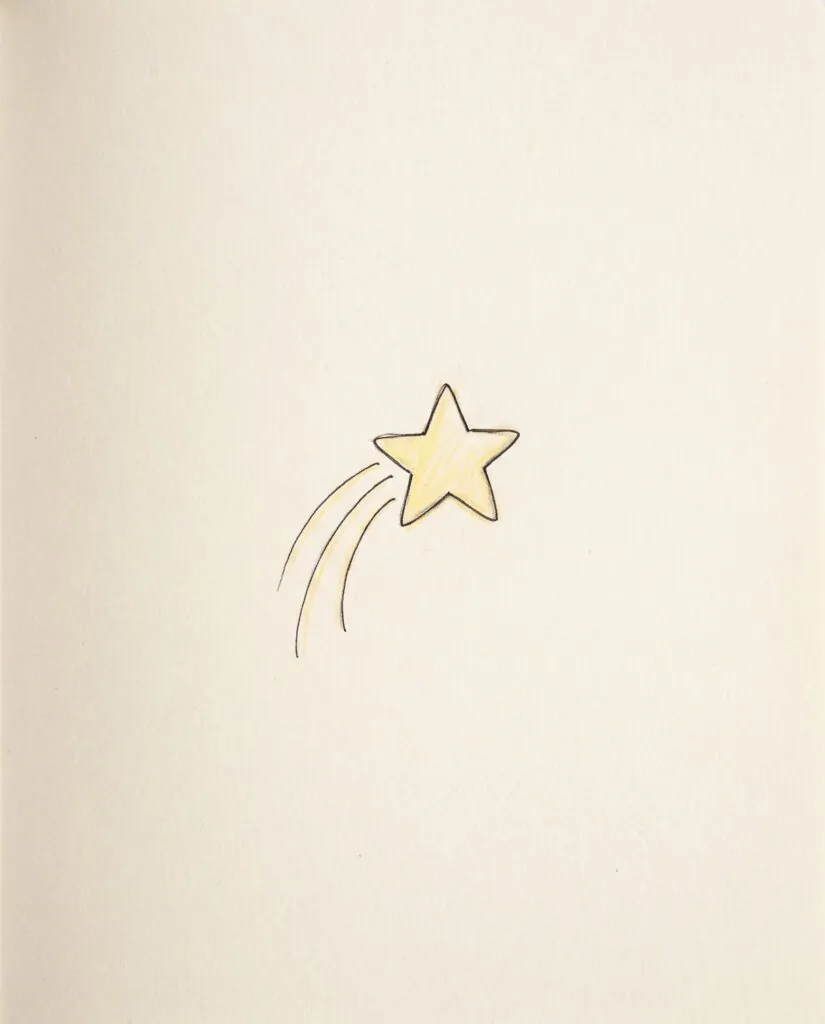
Begin with a simple five-point outline, then sweep two thin parallel curves behind one side of the star. The trails should taper as they move away, leaving enough space for the star to remain the focal point. A tiny sparkle beside the path adds energy. If five-point stars are tricky, mark five light guide dots first and connect them, then ink the clean outline.
How to Make Easy Doodles Look Good Together
If you are building an entire page of little drawing ideas, choose two or three recurring details: the same rounded eyes, a consistent pen thickness, or one limited set of colored-pencil shades. A mix of different subjects will feel connected without becoming repetitive. Leave a comfortable border of blank paper around each doodle, especially if you want to crop individual designs for a journal.
For a grid, lightly divide the page into rows with pencil and put one doodle in each loose square. For a more spontaneous art-journal spread, cluster three tiny drawings around a heading and leave the other side open for notes. Both arrangements work well with these small drawing ideas; neither needs perfect spacing.
Beginner Doodle Mistakes You Can Easily Avoid
Drawing too small too soon is the most common frustration: faces become cramped and curves begin to merge. Work larger first, then repeat the design at miniature scale. Too many interior marks can also obscure the shape; a mushroom needs only a few cap spots, and a strawberry needs only a scattering of seeds. Finally, do not judge your pencil sketch against a digitally smoothed illustration. Small wobble and slight asymmetry are part of the charm of a hand-drawn doodle.
A Simple Ten-Minute Doodle Practice
If a blank page feels intimidating, give yourself an easy structure. Spend the first two minutes drawing circles, curves, tiny triangles, and little wavy lines without trying to turn them into objects. For the next four minutes, choose two doodles from this list and build each one from those basic marks. Use the remaining minutes to redraw your favorite at a smaller size, changing one feature such as the angle, expression, or proportion. The point is not speed; a short routine helps you see how many little pictures begin with the same shapes.
For a notebook spread, arrange three objects that tell a small visual story: a teacup beside a stack of books and a sparkle, for example, or a cloud above a tiny house with a flower by its door. Draw them individually rather than merging them into one complicated scene. A loose grouping creates interest while keeping every subject beginner-friendly. You can also pick a single ink color for all outlines and reserve colored pencil for just one detail in each drawing.
Try keeping a tiny margin on one page for repeat sketches. Revisit a moon, strawberry, or envelope after a few days and notice whether the curves come more naturally. The little differences between versions are useful: they show you which shapes feel comfortable and which need another pass. You do not need to finish a full sketchbook page in one sitting, and an empty corner is not a mistake. Leaving room around a drawing often makes it easier to appreciate.
More Drawing Ideas for Your Sketchbook
When you feel ready to branch out from quick doodles, drawing ideas for when you don’t know what to draw offer a broader range of sketchbook subjects. For a softer, more decorative approach, aesthetic drawing ideas can lead you toward delicate details and imaginative compositions.
Final Thoughts on Drawing Ideas Easy Doodles for Beginners
Pick three doodles that catch your eye and draw each one twice: once as a tiny practice sketch and again with one small change of your own. That might be a tilted mushroom cap, a longer ribbon tail, or a differently shaped cloud. A page full of approachable drawings grows from this kind of play, not from making every line perfect.